Since we’re going to dive into this rather large lake of how to grow food, let’s start at the shallow end and get our sea legs (lots of mixed metaphors there, you’re welcome) first. Seeds. Can I convince you how miraculously cool seeds are? They are a tiny packet of genetic information, for nothing more than some warmth, light (usually), and some water, will unfurl in time and produce a plant that will net you so much food in volume, that your return on investment would be astronomical. Stock market, schmock market!
If you endeavor to grow your own food in any capacity, you will need to begin with seeds. Buying starter plants (aka: transplants) becomes very costly very quickly, causing you to spend too much money at the outset. Since the point of growing your own food is to get as much as you can for as little as possible, that’s a bad way to start. To my mind, the only times to use transplants are when you have a seed failure and need to supplement what you successfully grew, to grow something that is really hard to start from seed, or if you just want to try a few plants of a certain crop to see what it does and whether you might enjoy eating it.
When I started gardening, I got a self-taught crash course in seeds and seed starting. I admit I fell for every pretty flower picture, every juicy tomato in a catalog. I wanted to try everything. What I wasn’t doing was paying attention to the important things that seed catalogs and seed packets have to tell us. So learn from my mistakes. Aside from the obvious things, like depth of planting and days to germination, you need to pay attention to the following:
Determinate vs. Indeterminate — This is used with tomatoes, generally, but I’ve since learned it can apply to potatoes as well. Weird. Anyway, it means that what you are looking to grow either ripens pretty much at the same time (determinate) or starting at a certain time and going until it drops dead, usually of frost (indeterminate). You need to know this for two reasons: One, if you are going to use the space the crop is in for another crop later in the year, and two, if you are preserving the crop in any way. Determinate crops make both things much easier.
Days to Maturity — Sort of hand in hand with the above determinate/indeterminate discussion, this tells you approximately when your little baby plants will produce their, well, produce. Why do you need to know? Again, I can highlight the two reasons above. I would also point out that it is very easy to leave a crop too long and wind up with something that’s not as good as it should be, if not ruined altogether. When I first started, I know one of my biggest issues was deciding whether or not something was “ready” to be picked. Eventually you learn to recognize when it is, but until then, it’s nice to know that on such and such a date you should start looking at your plants with thoughts of harvest.
**Super quick note here: days to maturity starts after the plant is transplanted into your garden. It does not start when you put the seed into the ground. Exceptions to this rule? Anything that is directly seeded into the garden starts the countdown after it comes up.**
Open Pollinated (OP) vs. Hybrid (F1, F2, etc) — An open pollinated plant is a plant that was made from two parents of the same (or very nearly the same) type. This means that you can save the seed from that plant, plant it next year, and get the same type of plant to grow again. A hybrid is a plant that was made with two different parents, resulting in something new (just like all of us). You can save the seed from this plant, but you will not get a plant next year that resembles a plant you had this year, but one that resembles one of the parents, or something else entirely.
A lot of growing your own food has to do with dates, calculating, keeping track, and planning. Using the information on the packets of seeds becomes immensely valuable as you do so. When you get the knack of it, and have a plan in place, you will find that you are planting seeds almost year-round, depending on where you live. I live in NY, and I plant seeds (inside and outside) from mid-January through to mid-May, and then from the end of July up to mid-September. Can you imagine the cost of that, if I chose to use transplants? Fuggeddaboutit.
Even with prices increasing, $5 will still net you a packet of anywhere from 25–300 seeds. That can be more plants than you will need for a year, depending on what you’re growing. Seeds get a bad rap for being difficult to start, but it’s just not true. If Kindergarteners can take a seed, wrap it in a paper towel, throw it in a Ziploc bag and tape it to the window and get it to grow, you absolutely can grow a seed. Seeds WANT to grow. You just need to work with them. Though I’m not going to go into how to grow seeds here (there are just too many other websites that do it), my advice is this: invest a little in a heat mat and some lighting, because it makes a tremendous difference in your success. These things, once purchased, can be used for YEARS and are a worthy investment of your money.

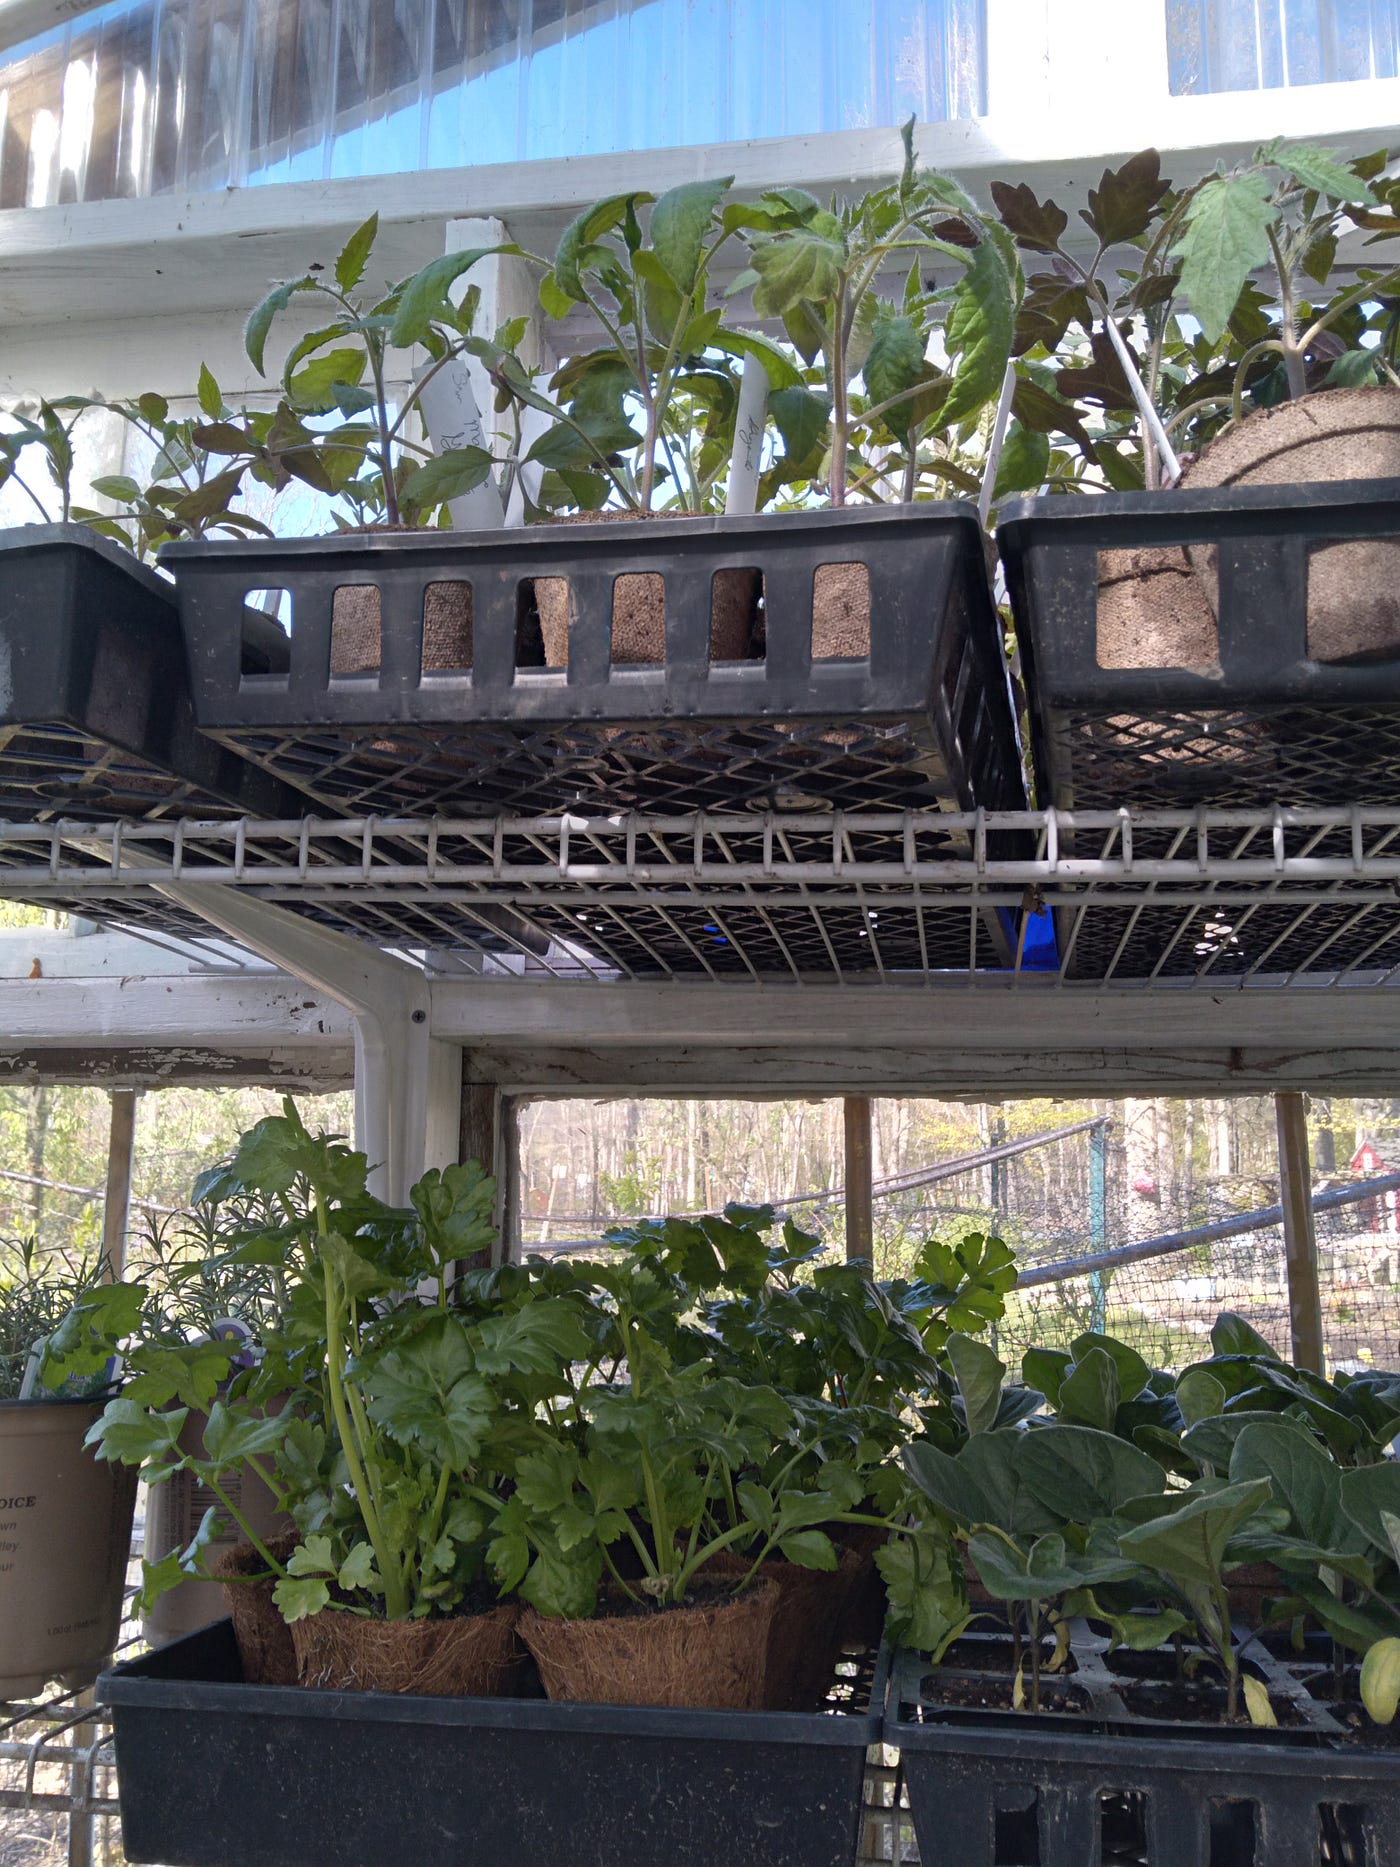
Same seeds as above, now in the greenhouse getting ready to live in the garden
Next time I thought I’d talk about the planning process of food gardening, which is one of the things that takes the most time and is probably one of the most overlooked. But this is where you figure out what you should be growing, how much you’d like to grow, and where you should plant it. Your system will evolve over time, but working to “get it right” is kind of a fun challenge.
See you next time!
**********************************************************************
Some seed starting informational links:
How to Start Seeds — Germinating Seeds | Gardener’s Supply (gardeners.com)
How to Start Seeds Indoors: Growing Vegetables from Seed | The Old Farmer’s Almanac
Guidelines for Starting Seeds Indoors, from Johnny’s Research Team (johnnyseeds.com)
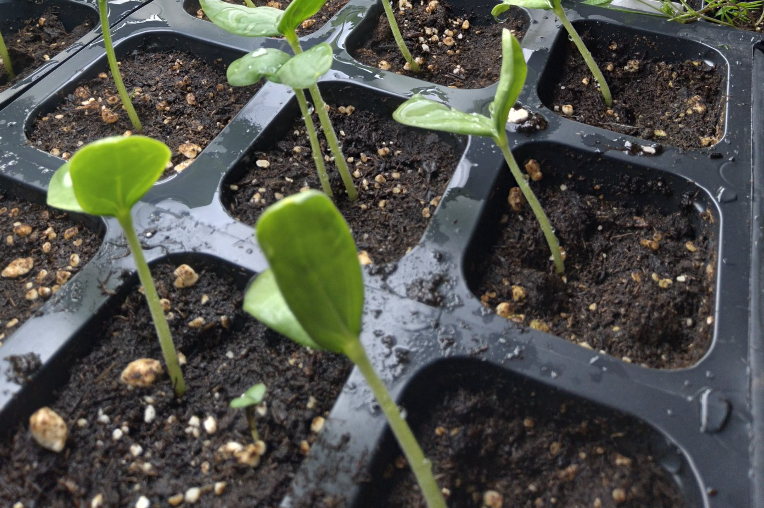
Teaser photo credit: Seeds, started in the basement, on heat mats, under lights


